This article is for users of the FBO tool. Looking for something else? → Add, Disable and Delete a User Login - Operator Users
Follow the steps below to add a new user, update an existing user, manage user permissions, temporarily disable, or delete user logins for your Company account.
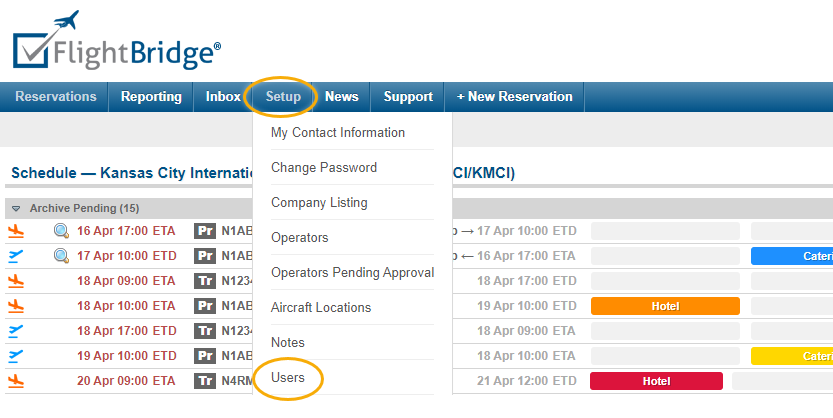
Add User via the Users screen
- On the blue menu bar, Select Setup > Users to access the User Setup screen.
- On the User Setup Screen you will see a list of all current Users. Select +Add User to access the New User Setup screen.

- Reference the guidelines below for field entry within the User Setup screen.
- Select the appropriate permissions to be applied for the User. If you are unsure which settings to give a user, reference settings in place for another existing user.
Administrator – Grants user Administrator Permissions for your Company to access advanced areas of the system that you may want to restrict. For example, company settings and adding or disabling users.
Shared Account – Indicates that this is a shared login used by multiple individuals within your organization.
Read Only – User will have a basic read-only view of the schedule and reservation pages.
Concierge Only – Limits users to only basic booking abilities and hides non-related features.
Airports – Select which airport the User can access. This function only appears for a multi-airport FBO Company.
IP Addresses – Advanced feature that restricts an account from only be used from certain known locations (only from the office for example, but logins from outside the office are prevented). This may require some advanced Information Technology support to ensure IP Addresses are determined and specified correctly.
- Once you select
 , FlightBridge will send an email to the new User prompting them to activate their login and setup a password.


Delete, Disable or Enable Users
Delete - To Delete a User from the Company account, click on the User and select Delete User.
Disable - To Disable a User's status if they are going on temporary leave, toggle Yes next to Disable User on the Edit User screen.

Enable - From within the User screen, you can see any Users that might have the "Disabled" status. To enable their status, click on the User and toggle No next to Disable User on the Edit User screen.

Deleted Users
- Select "Show Deleted Users" on the bottom left of the Users Screen to access a list of deleted users.

-
From here you will be able to restore a previously deleted user's access to your company's account.

